Write your HTML
Now that our element is set up and our dev server is running, let's take advantage of the slot and shadow root to make our element a bit more interesting.
PatternFly elements are written in TypeScript, a superset of JavaScript which adds development-time type checking and other features. If you are unfamiliar with TypeScript, read their getting-started documentation, and feel free to reach out to the PatternFly Elements team on our social media channels.
We'll edit the pf-v5-cool-element.ts file to add some HTML to our element's
template. LitElements define their template in the render() method.
The render() method can return a string, a number, a DOM node, etc, but
usually it returns a TemplateResult, which is an html
tagged template
literal.
Let's turn pf-v5-cool-element into a profile element that has a profile photo, a
username, and a button to follow the user.
Here's the updated render() method in pf-v5-cool-element.ts:
render() {
  return html`
    <div id="profile-pic"></div>
    <slot></slot>
    <div id="social">
<button>Follow</button>
    </div>
  `;
}
We'll also need to update /demo/index.html
so that the user's name is passed into the slot that we added in pf-v5-cool-element.ts:
<link rel="stylesheet" href="demo.css">
<script type="module" src="pf-v5-cool-element.js"></script>

<pf-v5-cool-element>
  Kyle Buchanan
</pf-v5-cool-element>
Slots take the HTML from the light DOM and project it into the shadow DOM at a given location.
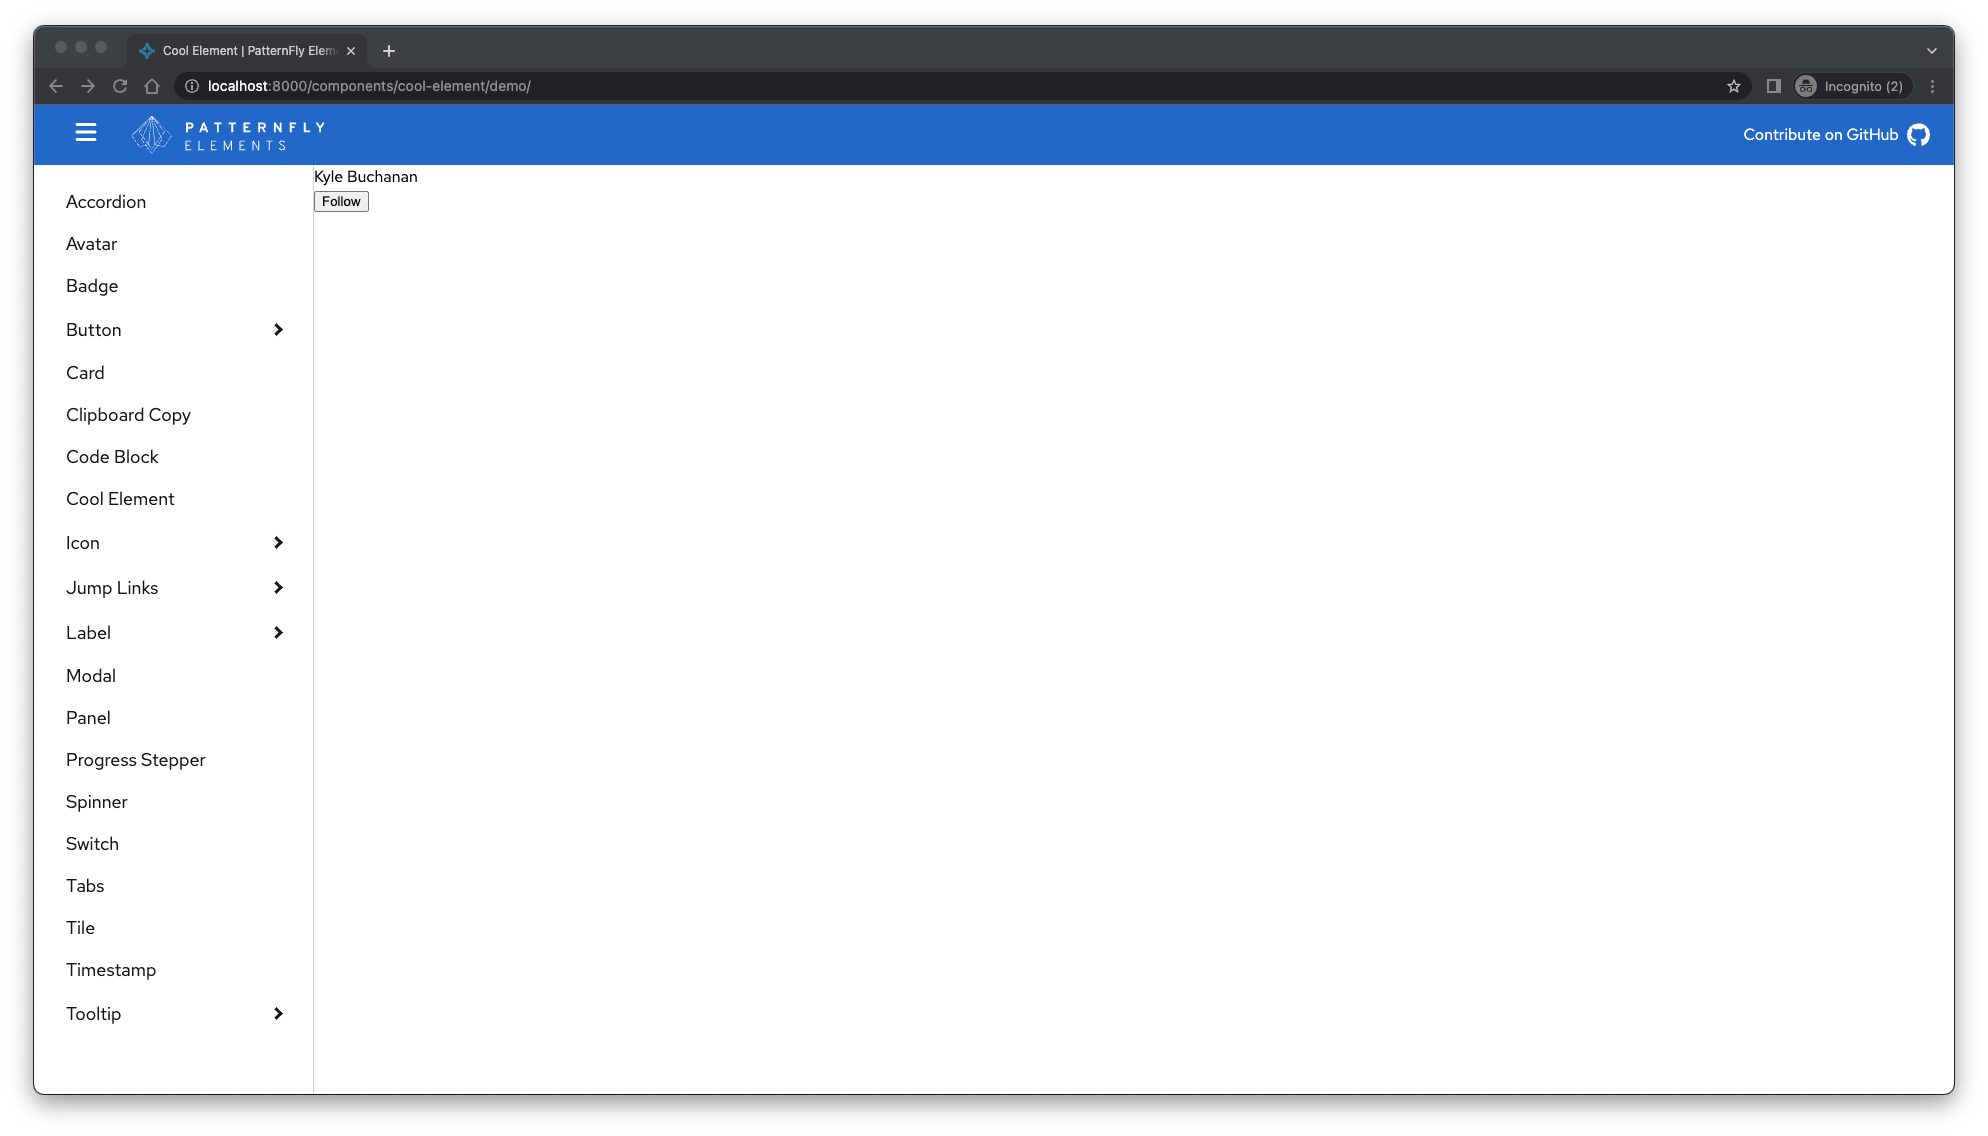
Here's how it should look in the browser:
Remember that any changes we make in the element directory are watched while the npm run start command runs. When you save changes, the dev server reloads the page and shows you your changes automatically.
Now that we've added the HTML, let's style our element by updating the CSS file.
