Develop a structure
Start the development server
Run this command from the project root to start the build, watch, and server processes.
npm run startThe server will load on http://localhost:8000 by default.
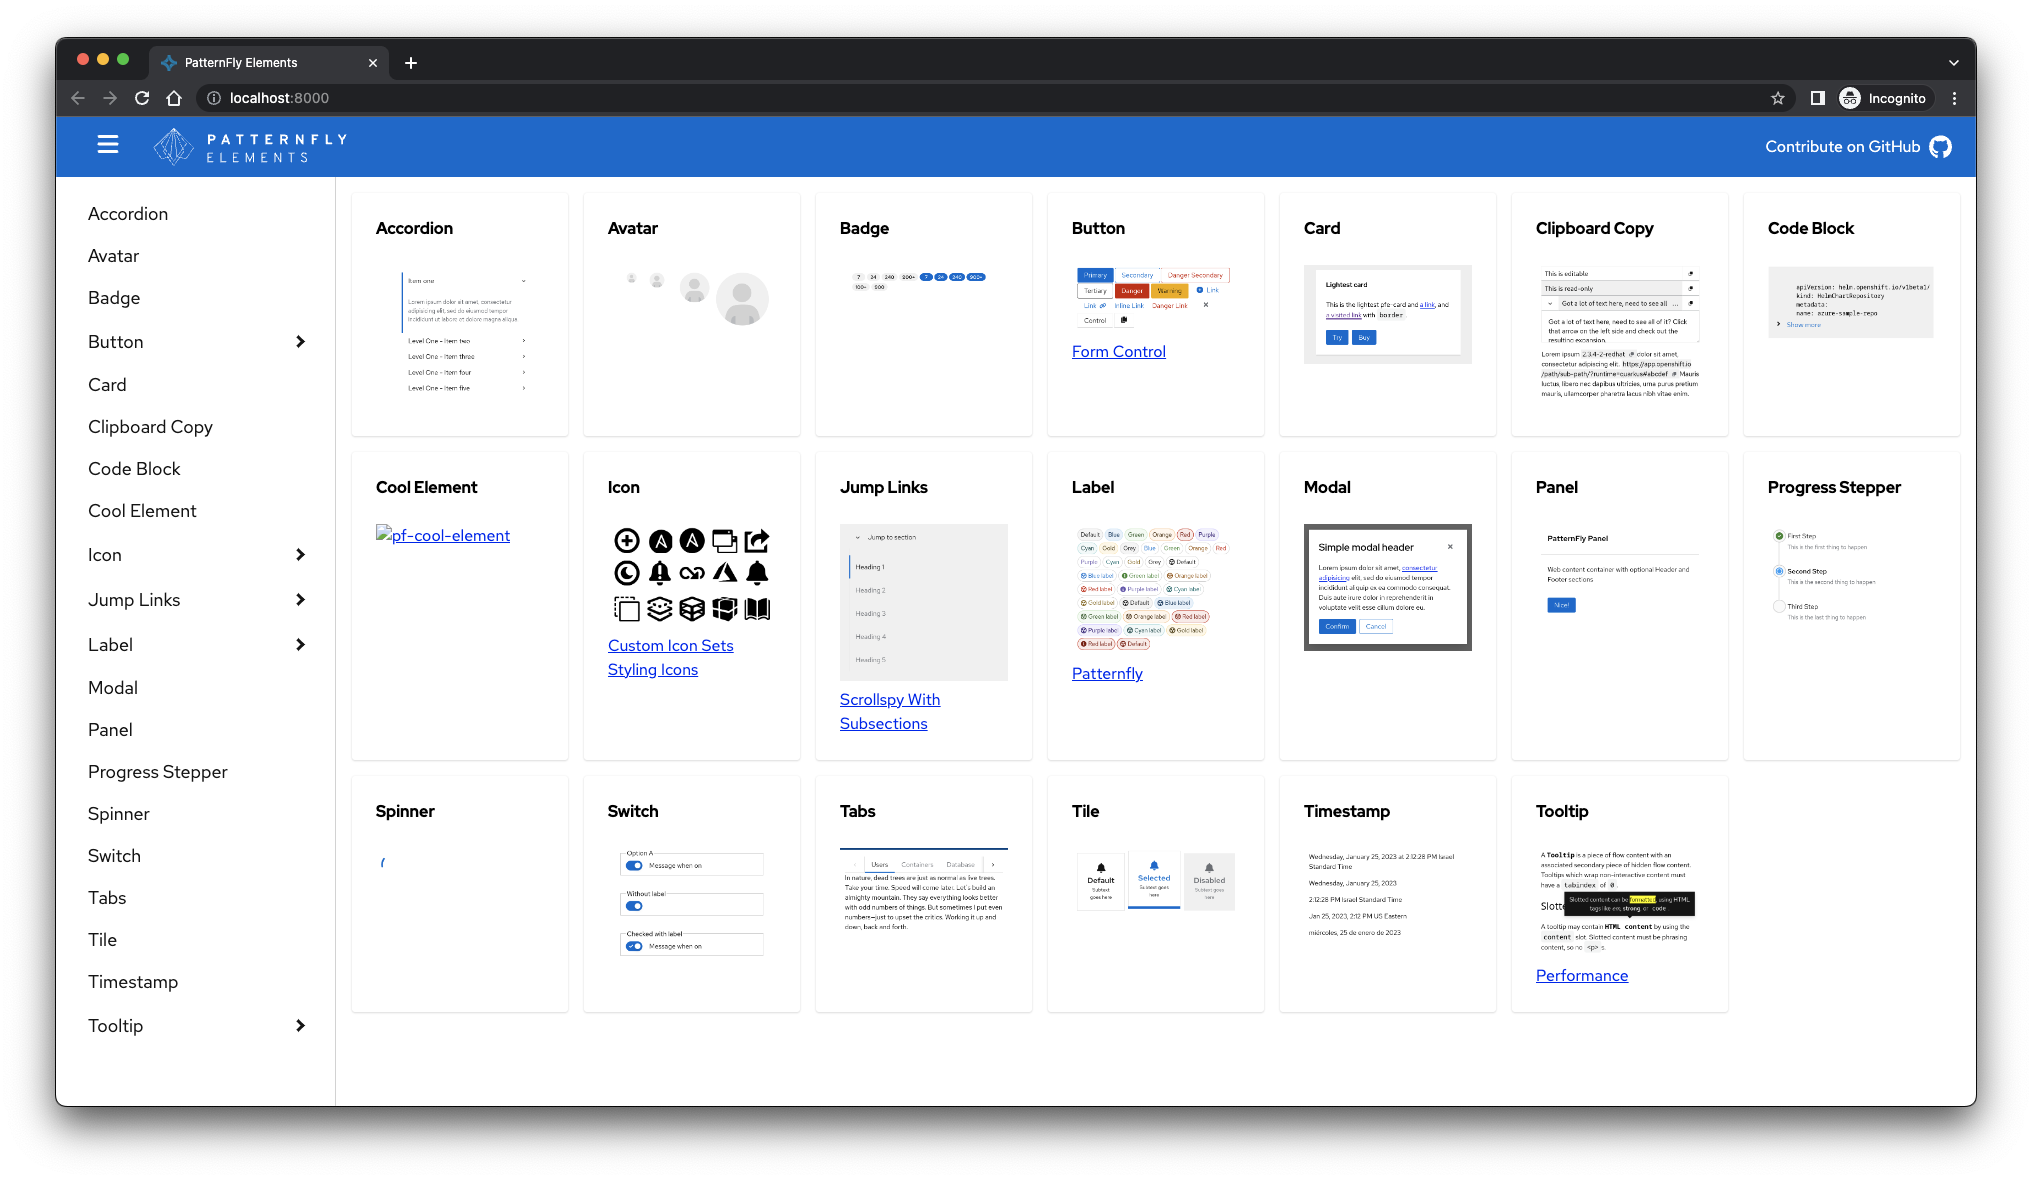
Assuming the npm run start command started a server on port 8000, navigate to http://localhost:8000/components/cool-element/demo/ to view your element development demo page.
Note: Depending on other projects you are running via NPM the port number may differ.
11ty Docs development server
The npm run start command also starts an 11ty development server on http://localhost:8080 by default.
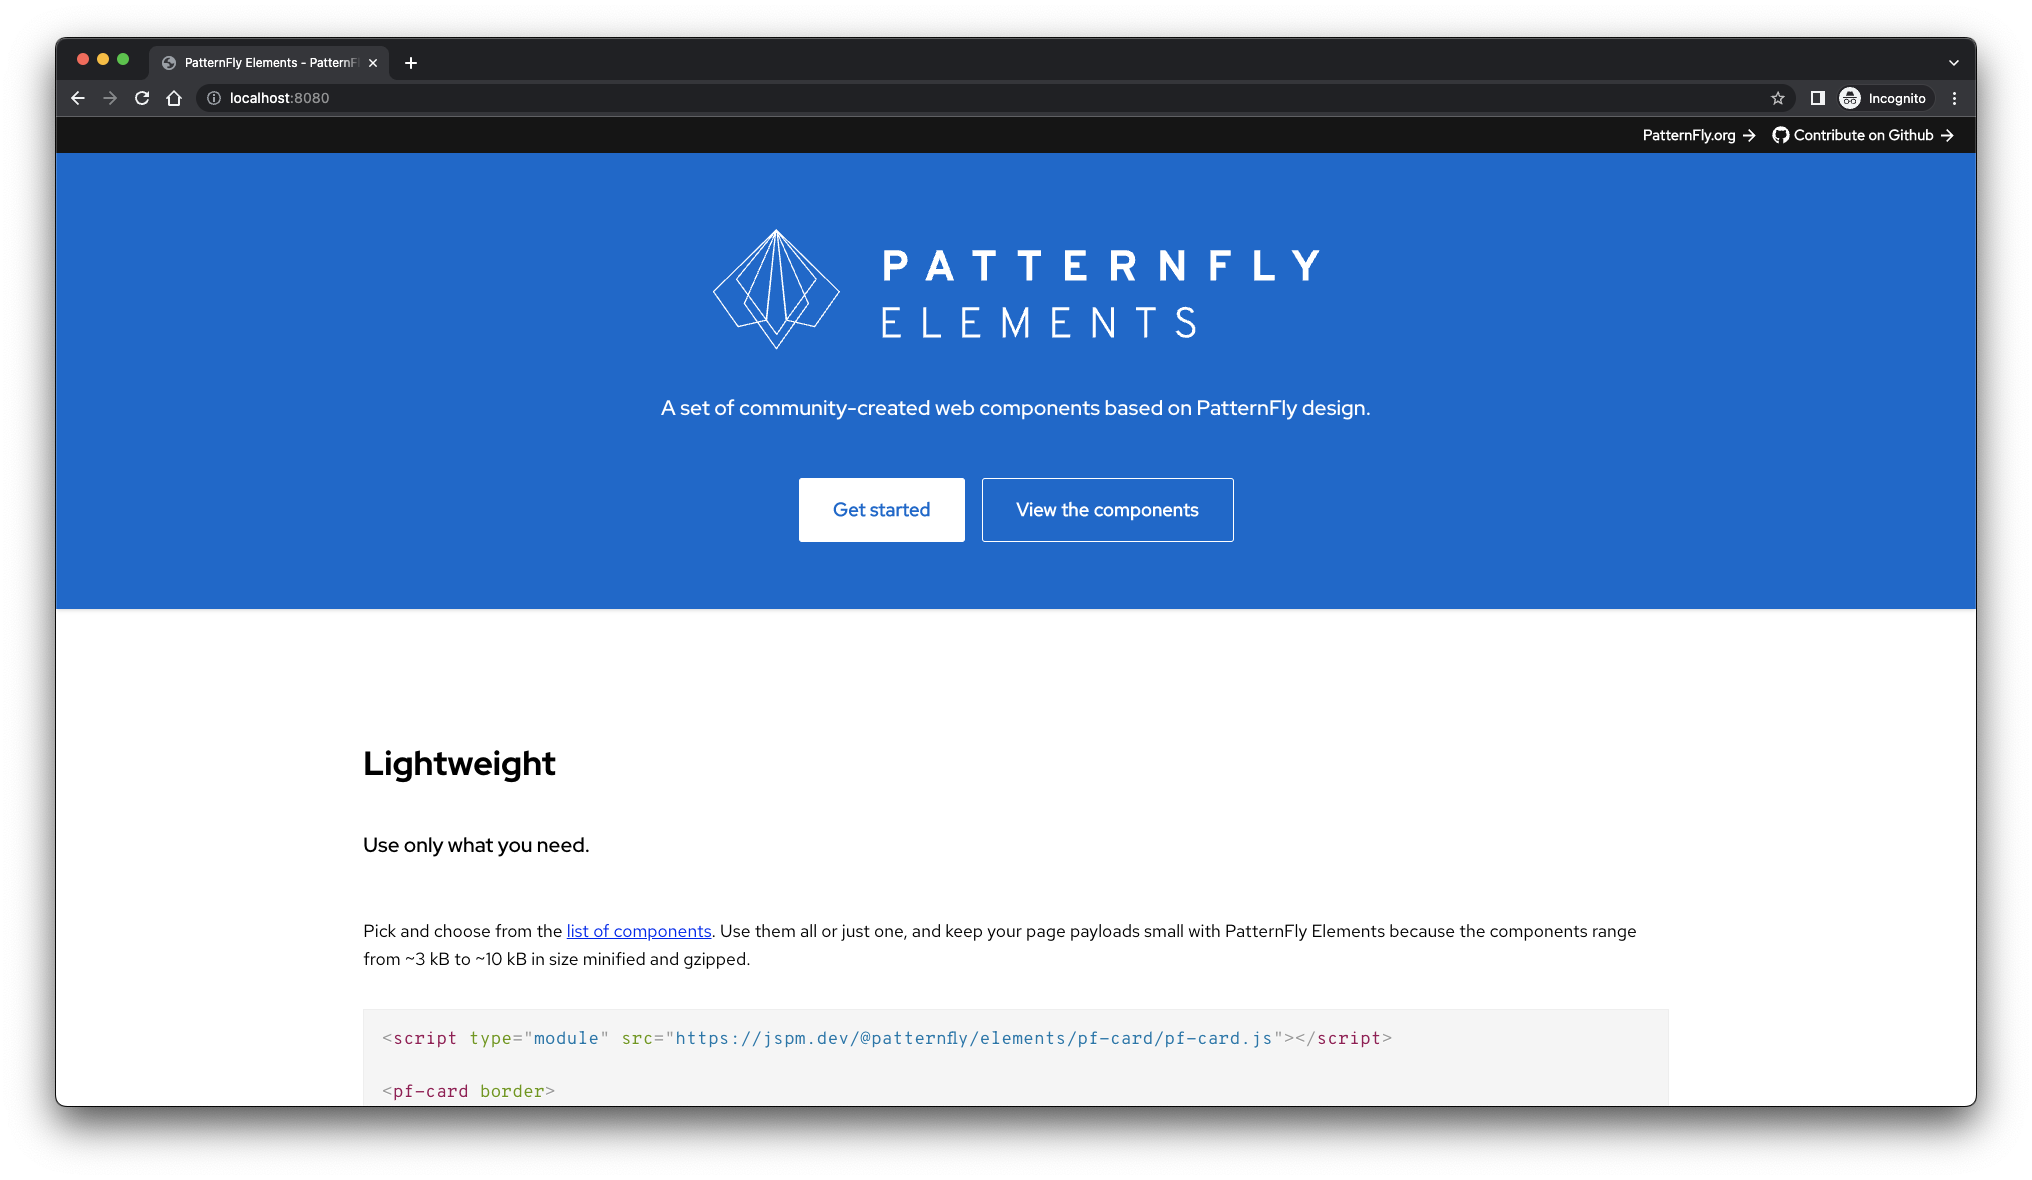
Assuming the npm run start command started a server on port 8080, navigate to http://localhost:8080/components/cool-element/demo to view your new elements documentation page.
Note: Depending on other projects you are running via NPM the port number may differ.
Our new custom element
You're off to a good start! You have a new custom element that extends the base LitElement class.
Let's take a look at the pf-v5-cool-element.ts file to see what we have.
import { LitElement, html } from 'lit';
import { customElement } from 'lit/decorators/custom-element.js';

import styles from './pf-v5-cool-element.css';

/**
 * Cool Element
 * @slot - Place element content here
 */
@customElement('pf-v5-cool-element')
export class PfV5CoolElement extends LitElement {
  static readonly styles = [styles];

  render() {
    return html`
<slot></slot>
    `;
  }
}

declare global {
  interface HTMLElementTagNameMap {
    'pf-v5-cool-element': PfV5CoolElement;
  }
}
Lit
import { LitElement, html } from 'lit';First, notice that our element extends from LitElement instead of HTMLElement. Lit provides a few key features on top of standard web components (i.e. HTMLElement):
- Observed Properties. Any time an observed property changes, the component automatically and efficiently updates based on the new state.
- Declarative Templates. The
htmltemplate literal tag function lets you define HTML elements and attributes as well as JavaScript DOM properties and event listeners in a simple, familiar syntax.
Unlike PFE 1.0's PFElement base class, Lit template updates (i.e. renders) are asynchronous. What this means for developers is that once they set an observed property, they should await element.updateComplete to ensure that changes to the DOM are applied if they need to do any work based on the results.
For example, with PFElement we could handle the side-effects of our actions immediately:
const element = document.querySelector('pf-v5-tabs');
// Select the 2nd Tab
element.selectIndex(1);
// Side effects happen immediately,
// so let's get a reference to the newly-active tab
const active = element.querySelector('[aria-selected="true"]');
// Do something with the newly-active tab
With LitElement, we must wait for our changes to apply before continuing:
  const element = document.querySelector('pf-v5-tabs');
  // Select the 2nd Tab
  element.selectIndex(1);
- // Side effects happen immediately,
- // so let's get a reference to the newly-active tab
+ // Wait for changes to take effect
+ // and only then get a reference to the newly-active tab
+ await element.updateComplete;
  const active = element.querySelector('[aria-selected="true"]');
  // Do something with the newly-active tab
These changes usually take mere milliseconds to occur, so this doesn't affect end-users, but developers should be aware.
Read more about Lit on their site.
TypeScript Decorators
Second, we define HTML tag name using lit's @customElement() TypeScript decorator.
Decorators are a proposed JavaScript language feature.
TypeScript implements an experimental version of the decorator language feature with a slightly different internal API.
@customElement('pf-v5-cool-element')Third, we import an use our component's CSS styles
import styles from './pf-v5-cool-element.css';static readonly styles = [styles];As of this writing, web browsers don't yet know how to import .css files as
CSS styles. In the near future, we will use
import assertions to import CSS modules,
but for now, we use some build-time tricks to transform our CSS sources into
JavaScript objects which work with LitElement.
Now that our dev server is running and we have our element's structure, let's make it actually do something.
